
Step 1
The first step is to gather up the components for your design. Below is the wood background I used. If you need yours to be a higher res image or just would like to try a different background, check out one of the many great stock image sites out there. One of my favorites is stock.xchng, and it’s free! That’s also where I found the fruit photo I used. You can download that at this link.

Step 2
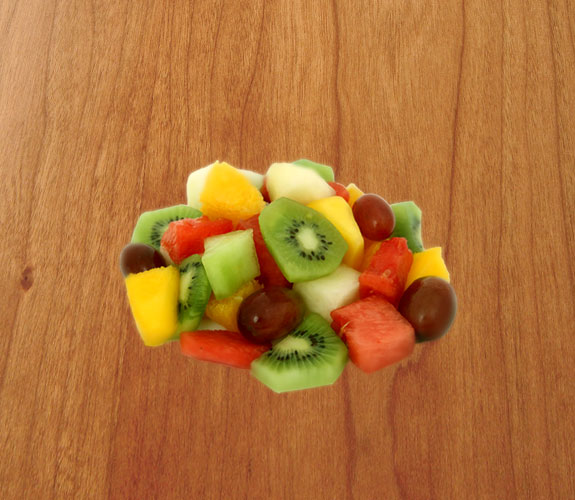
Once you have the components that your are going to use, open up the fruit image and extract if from its background. If you are unfamiliar with how to do this, then this article is a good place to start. Once the background is gone, place your fruit on your wood background and re-size it accordingly. You should have something like below.
Step 3
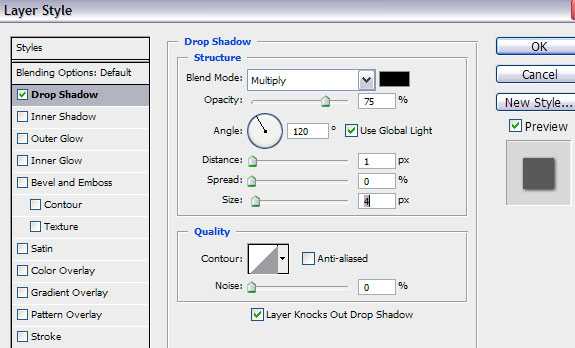
We are going to make our light source come from the top left. This is simple enough, because Photoshop drop shadow style is defaulted to be that way ![]() Double click to the right of the layer name to bring up the Layer Style window. Change the settings to a distance of 1 and a spread of 4.
Double click to the right of the layer name to bring up the Layer Style window. Change the settings to a distance of 1 and a spread of 4.
Step 4
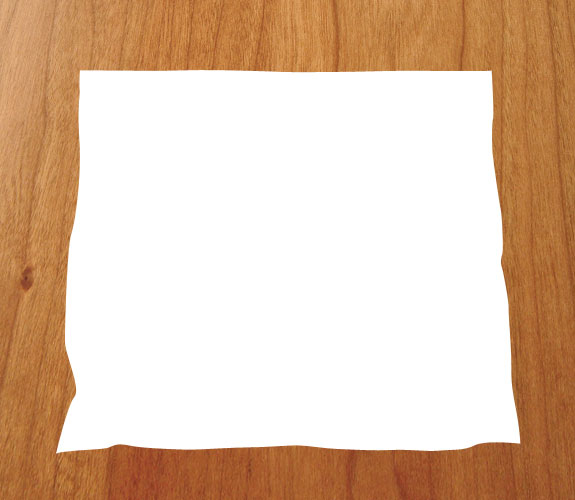
Next up, we are going to create the bag shape using the pen tool. If you need to brush up on the basics, Google “Photoshop pen tool tutorial” and you’ll find a ton of great resources. Create a bag shape similar to what is shown below. When making the shape I like to lower the opacity of that layer so I can see the shape in reference to the fruit more clearly. Also, make the top fairly close to straight across. That part of the bag tends to be much less rippled because the zipped part is thicker and less flexible. Lastly, go a little wavier where you think the fruit would bow the bag more. You should have a pretty general shape; something like what is pictured below.
Step 5
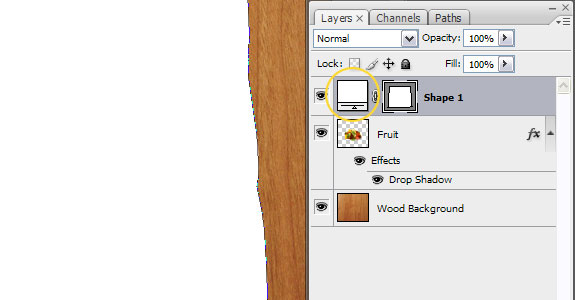
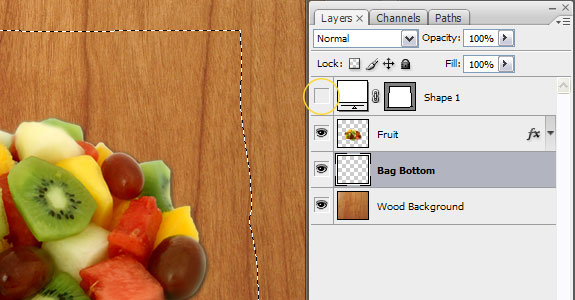
Make a selection of the bag shape you just created. To do so, ctrl + click on the thumbnail of the shape in the layers palette, as shown below. Create a new layer and call it ‘Bag Bottom’. Drag it below the fruit layer. We will still need the shape we created later, but it doesn’t need to be visible anymore. Click the eye icon to turn it off. Your layers should look something like below.
Step 6
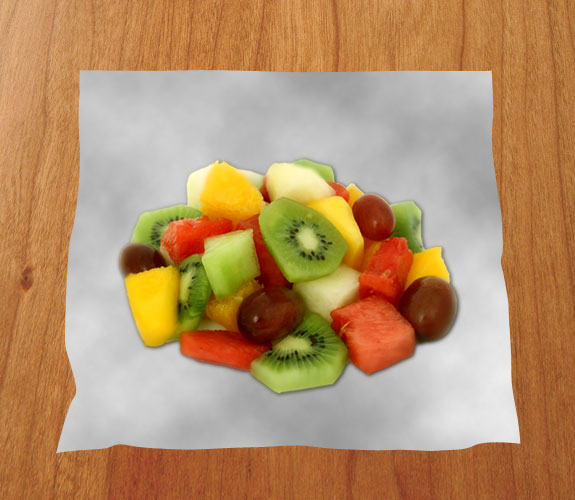
Your selection you made in the previous step should still be visible and you should be on the ‘Bottom Bag’ layer. Change your foreground color to white and your background color to a mid gray. Click Filter->Render->Clouds.
Step 7
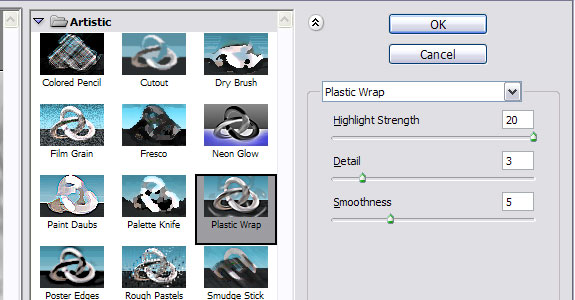
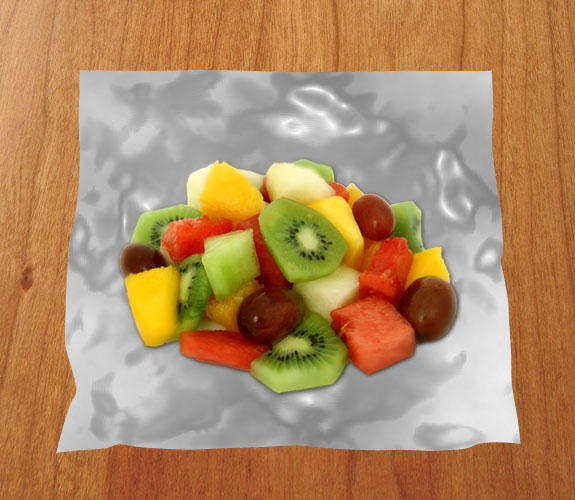
The clouds gave us a nice variation of grays to work from. Now we will need to get some highlights and shadows. To do so, click Filter->Artistic->Plastic Wrap. Use the settings below as a reference.
Step 8
In the long run, this bottom of the bag layer will only serve as a means to add depth to our rendering. It is important then, to keep it as subtle as possible. Something it clearly isn’t right now. Drop your opacity to around 25% so the wood background underneath is easily visible.
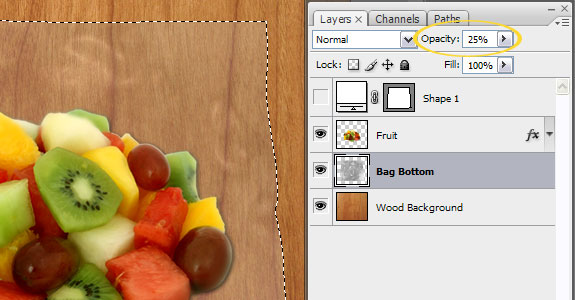
Step 9
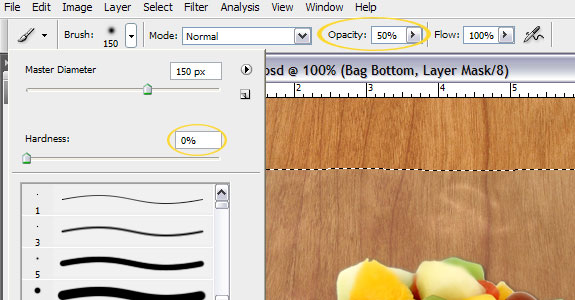
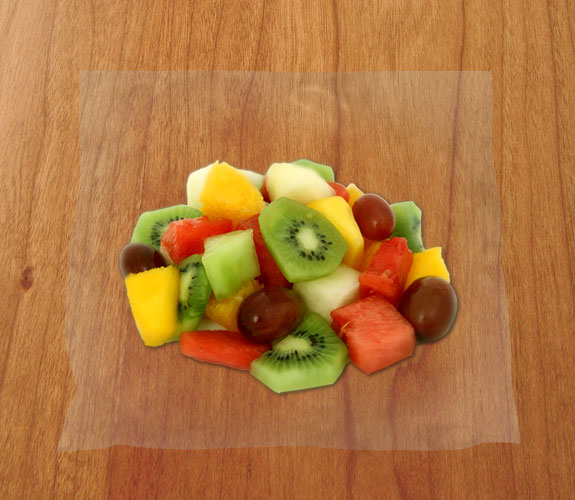
Now add a layer mask to the ‘Bag Bottom’ layer by clicking Layer->Layer Mask->Reveal All. Then, grab a large, soft, round brush at about 50% opacity and reveal most of the center. Leave the edges mostly as is. This may seem overkill for a layer that is barely visible, but it’s these small details that go a long way to help with realism.
Step 10
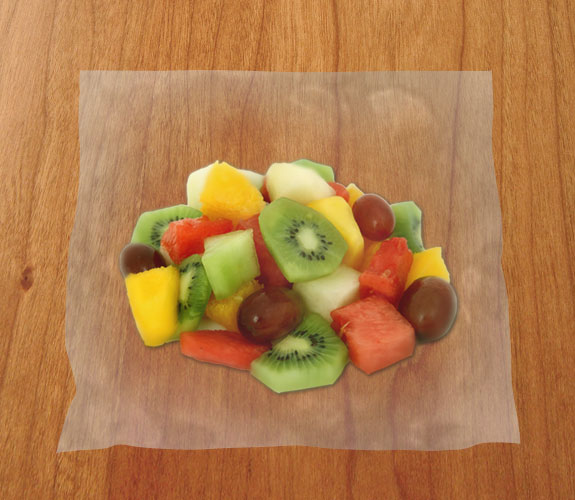
In this step we will create the top of the sandwich bag. The techniques are very similar to the last few. Create a new layer, place it at the top of the layers palette and name it ‘Bag Top’. Then follow the same process. Select the shape, render clouds, add a plastic wrap filter. Then drop the opacity to about 30% this time and mask out the middle part of the bag. Below is where I’m at after this step.
Step 11
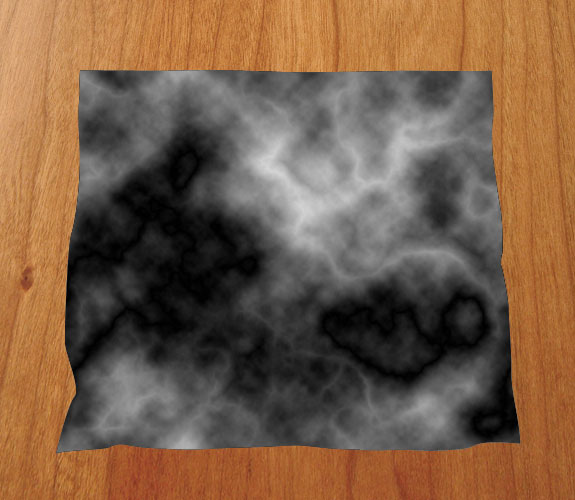
Our bag is beginning to take shape, however we’ll need another layer to distinguish some of the more exaggerated highlights that occur on plastic. And another layer at the top of your palette and call it ‘Bag Highlights’. Use the bag shape layer you made earlier to make a selection. Change your foreground color to black, and your background color to white. Then render some clouds by clicking Filter->Render->Clouds. For this layer, we want the highlights to be even more exaggerated so you’ll now render difference clouds. To do so click Filter->Render->Difference Clouds. The first time you apply this filter the result is rather dark. You can press ‘ctrl + f’ to repeat your last filter. Repeat the difference clouds filter about 2-4 times until you have a result like below. Keep in mind the bright whites are where the highlights will end up being.
Step 12
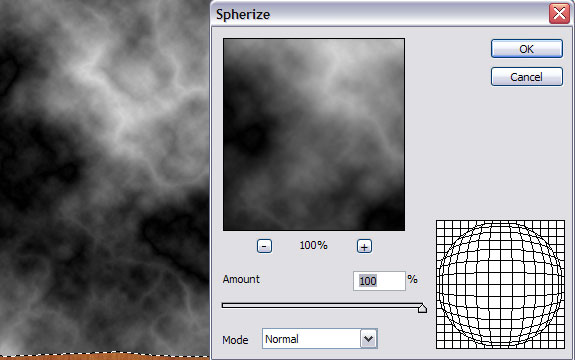
In this step we will try to add some dimension to our highlights. Click Filter->Distort->Spherize. Leave the amount at 100% and click ok.
Step 13
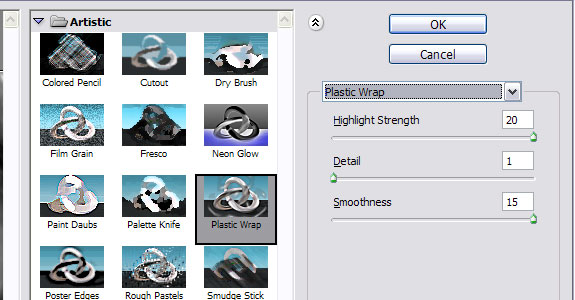
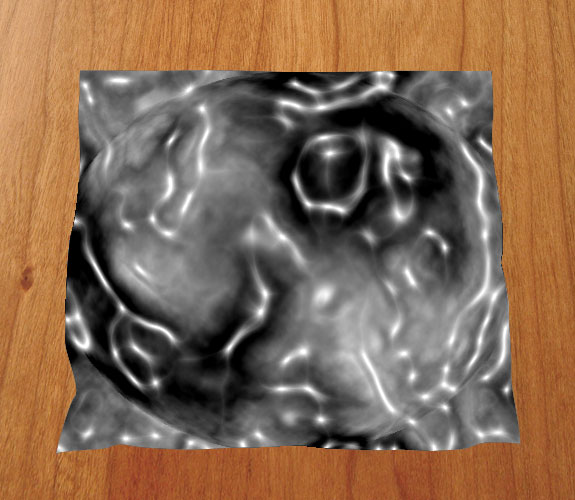
Add another plastic wrap filter to your highlight layer. Click Filter->Artistic->Plastic Wrap. Change the settings to something like what is referenced below. Then click, Image->Adjustments->Levels, and drag the white and black sliders towards the middle until you have a stark contrast of highlights like what is shown below.
Step 14
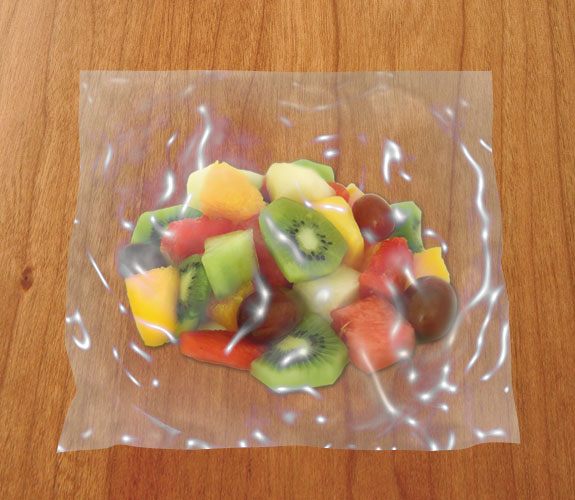
Change the blend mode of the highlight layer to ‘Lighten’. That will make only the white part of the layer visible. Now you should have some nice highlights displayed. Also, add a layer mask and using a soft brush at moderate opacity brush out some of the unnecessary highlights. Especially around the top where the zipper will be. You can also play with the opacity of the layer itself to temper the highlights. You can really overdue the whole look of the bag by leaving too many highlights. So be careful to brush out the right amount, and remember because you are using a mask, it is quite easy to switch your brush to white and paint some back in if you take too much out. Here’s what I got at this point.
Step 15
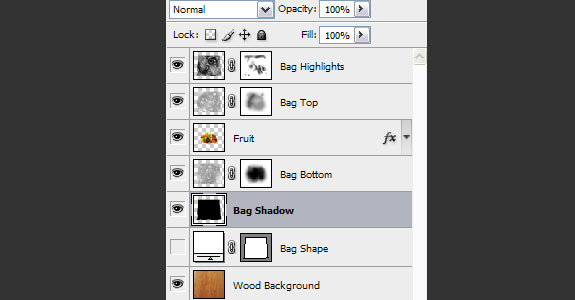
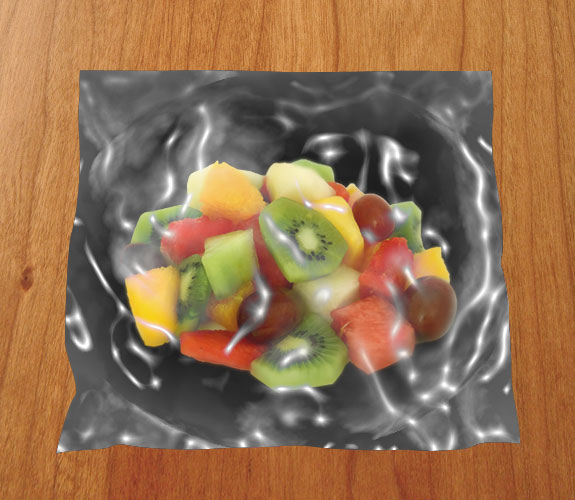
In an effort to improve the depth of our drawing we will add a fairly big shadow. Make a selection of the bag layer again using the ‘ctrl + click’ method on the thumbnail of the shape layer that is not visible. Create a new layer, call it ‘Bag Shadow’ and place it under the ‘Bag Bottom’ layer. Make your foreground color black and press ‘alt + backspace’ to fill your selection with that color.
Step 16
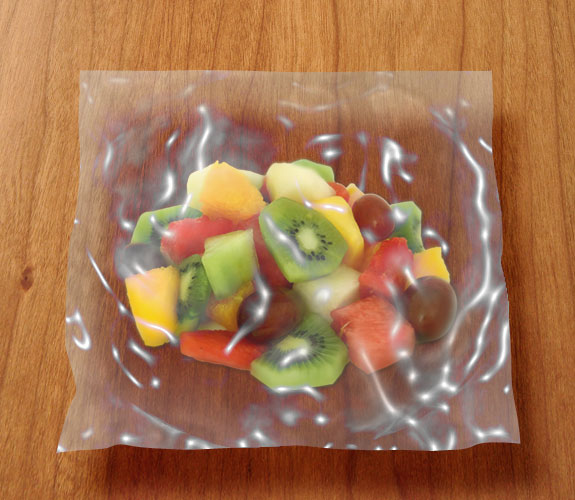
Grab the move tool (shortcut ‘v’ on the keyboard) and move your shadow down and to the left. Change you blend mode to Soft Light. Then click Filter->Blur->Gaussian Blur and set that to around 9 or 10. You should have a nice soft shadow now.
Step 17
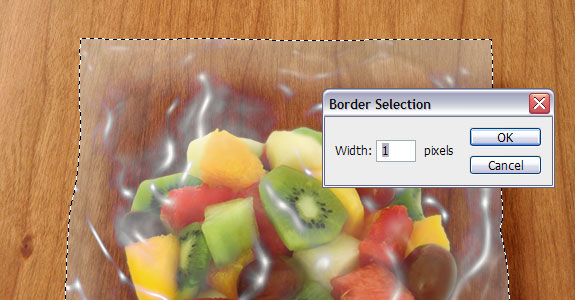
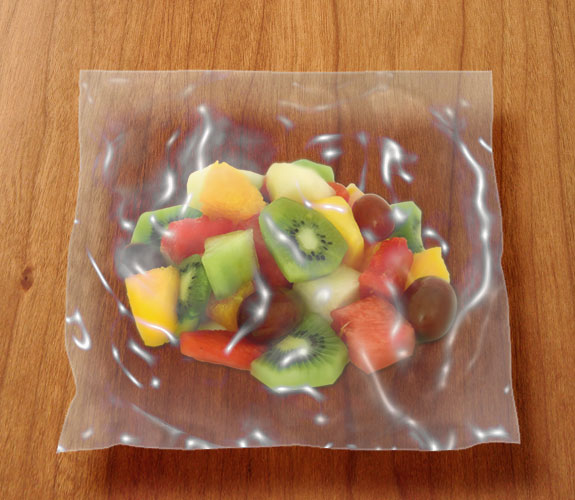
Things are really starting to come together now, but we still have some more work to go. Add a layer just above the ‘Fruit’ layer in your layers palette, name this one ‘Bag Edges’. Make yet another selection of the bag shape. Then click Selection->Modify->Border. Set the border to 1 px and click OK. Change your foreground color to white and click ‘alt + backspace’ to fill that selection with white. Then change your opacity on that layer to around 25%.
Step 18
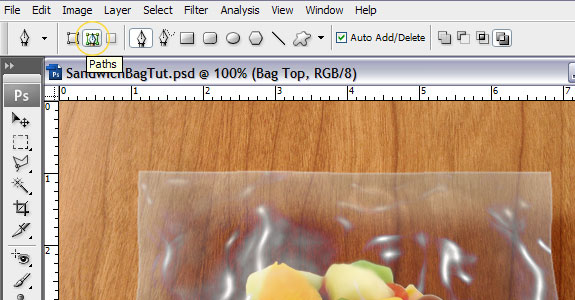
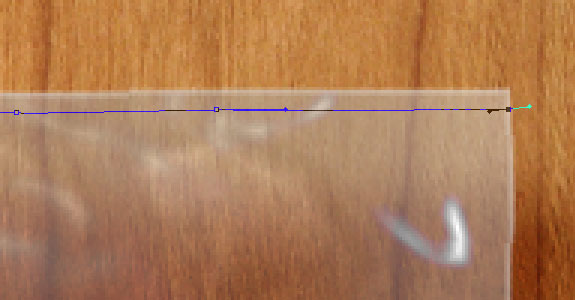
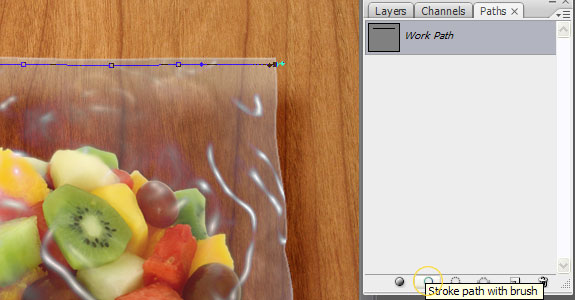
Grab the pen tool (shortcut ‘p’ on the keyboard), create a new layer at the top and call it ‘Bag Lines’. Make sure the pen tool is set to paths as shown below. Zoom in real close and draw a line near the top of the bag that goes along the same way as the top of the bag. (By the way, if you notice my highlights have changed a bit, it will only serve as a good reminder for you to save your document throughout this process ![]() A wise man learns from his own mistakes, an even wiser man learns from someone else’s.) Set your foreground color to white and select a soft, 2 px brush. Click on the paths palette which is usually docked in your layers palette, if not, click Window->Paths. Then click the small icon at the bottom of the palette to stroke the path with the brush you just selected.
A wise man learns from his own mistakes, an even wiser man learns from someone else’s.) Set your foreground color to white and select a soft, 2 px brush. Click on the paths palette which is usually docked in your layers palette, if not, click Window->Paths. Then click the small icon at the bottom of the palette to stroke the path with the brush you just selected.
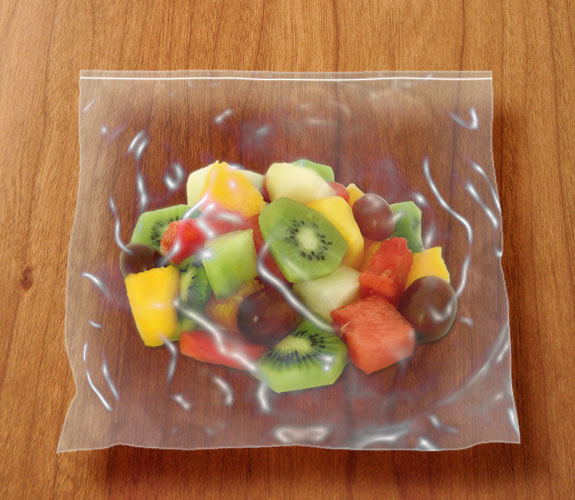
Step 19
Select the move tool. Then hold down the ‘alt’ button over the line you just drew. This will give you two triangle looking coursers. This is a shortcut to duplicate a layer. With ‘alt’ still pressed in, click and drag a new line below the first one. Repeat this process for 4 total lines. Then vary the opacity of the layers a bit until you have something like what is pictured below.
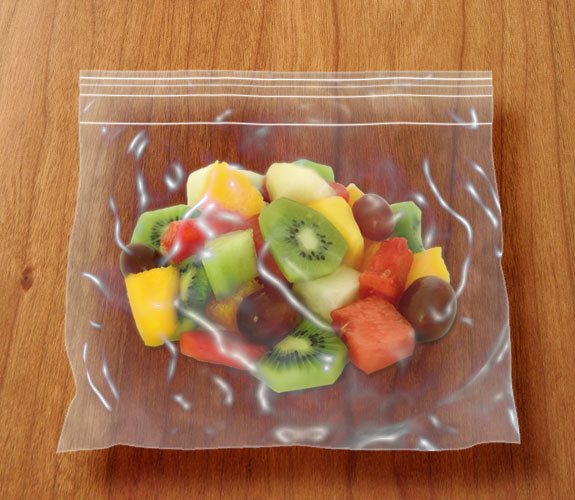
Step 20
I felt like the bag would gain some realism with a stronger line across the bottom that would help with perspective. To add it, just repeat the same sort of steps as before. Create a layer for it. Draw the path with the pen tool and stroke the path with a small, soft, white brush. Drop the opacity of this layer just a bit.
Step 21
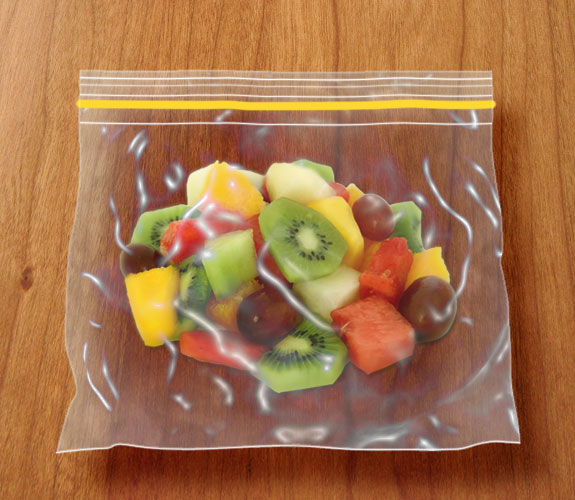
Make a new layer at the top of the layers palette. Then using the same technique, make a line for the bigger part of the zipper on the bag. This time use a hard brush (100 %) with a size of about 10px. Also change the color to something a little more exciting than white. I chose yellow (I know big surprise ![]() ).
).
Step 22
Grab the eraser tool (shortcut ‘e’ on the keyboard), then zoom in real close and delete some of the line that went past the edges of the bag.
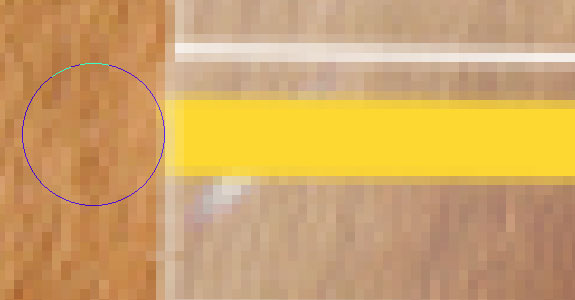
Step 23
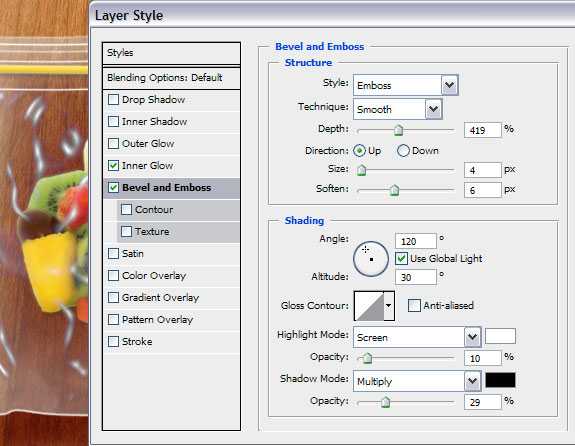
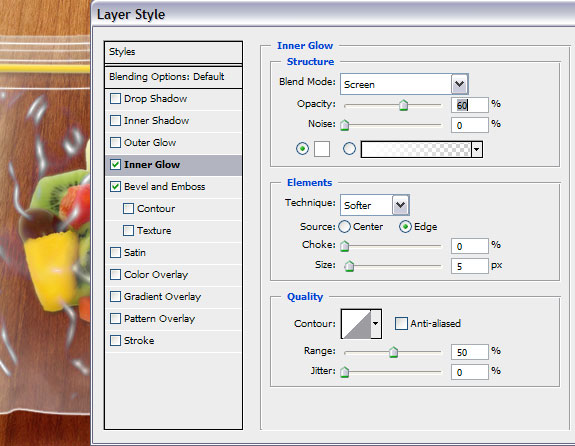
I felt like the zipper line could use a little depth. So double click on the zipper layer to bring up the Layer Style window. Add Bevel and Embosss, and an Inner Glow. Using the settings below as a reference.
Step 24
Copy the zipper line you just made and paste the new copy just underneath the other. You can do so, by pressing ‘alt’ while clicking and dragging out the new copy. Alternately you can right click on the layer and chose ‘Duplicate Layer’.

Step 25
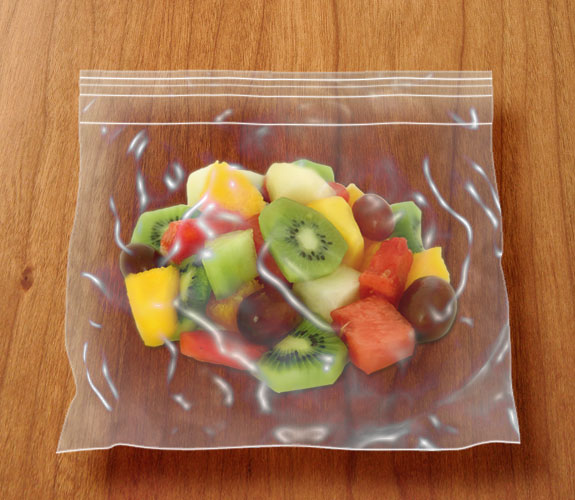
I made a few minor adjustments and branded my sandwich bag. Below is my finished results.


Tidak ada komentar:
Posting Komentar